On a Mount Lebanon roof, ice and water shield belongs along every eave, running from the roof edge to at least 24 inches past the inside face of the exterior wall. It also belongs in all valleys, around chimneys, skylights, vents and pipe boots, at roof to wall junctions, and on any low slope section such as a porch or dormer roof. If you already have a winter leak at one of those spots, a roof repair in Pittsburgh that adds membrane where it was missing is often the lasting fix.
That short answer covers most homes in the township. The longer answer depends on your roof’s pitch, your overhang depth and how well your attic breathes. Plenty of leaks show up in January on roofs that looked perfectly fine in July. Below, we’ll walk through where this membrane matters, where it’s wasted, and where installers get it wrong.
Short answer: eaves (to 24 inches inside the wall line), valleys, every penetration, roof to wall junctions and low slope sections. Not usually the whole roof.
Why Mount Lebanon winters are hard on roof edges
Our winters aren’t brutal. They’re indecisive, and that’s worse. A stretch of afternoons just above freezing followed by nights well below it sets up the exact freeze thaw rhythm that builds ice dams.
Here’s what happens. Warm air escapes the attic, heats the roof deck and melts the snow sitting on it. That meltwater trickles down toward the eave, which hangs out over cold outside air and never warms up. It refreezes there. Repeat this for a week and you’ve got a ridge of ice holding a pond of water behind it, sitting under your shingles.
Shingles shed water. They don’t hold it back. Once water sits still, it works its way up under the courses and into the deck. That’s the failure a self adhered membrane is built to stop.
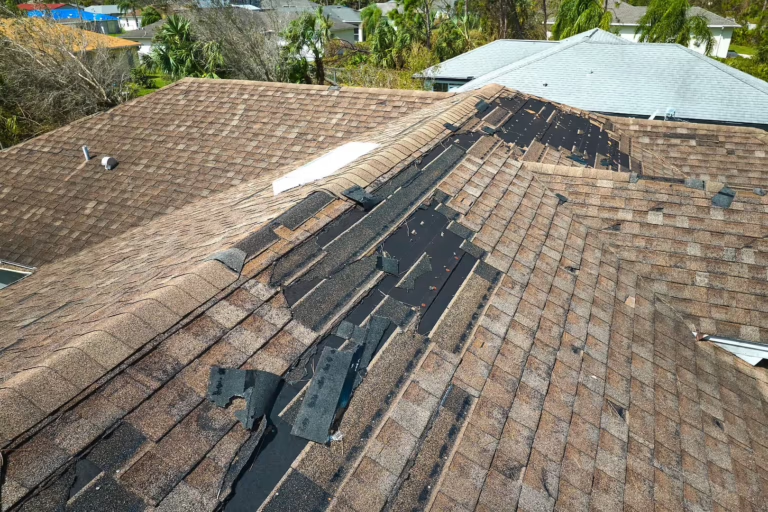
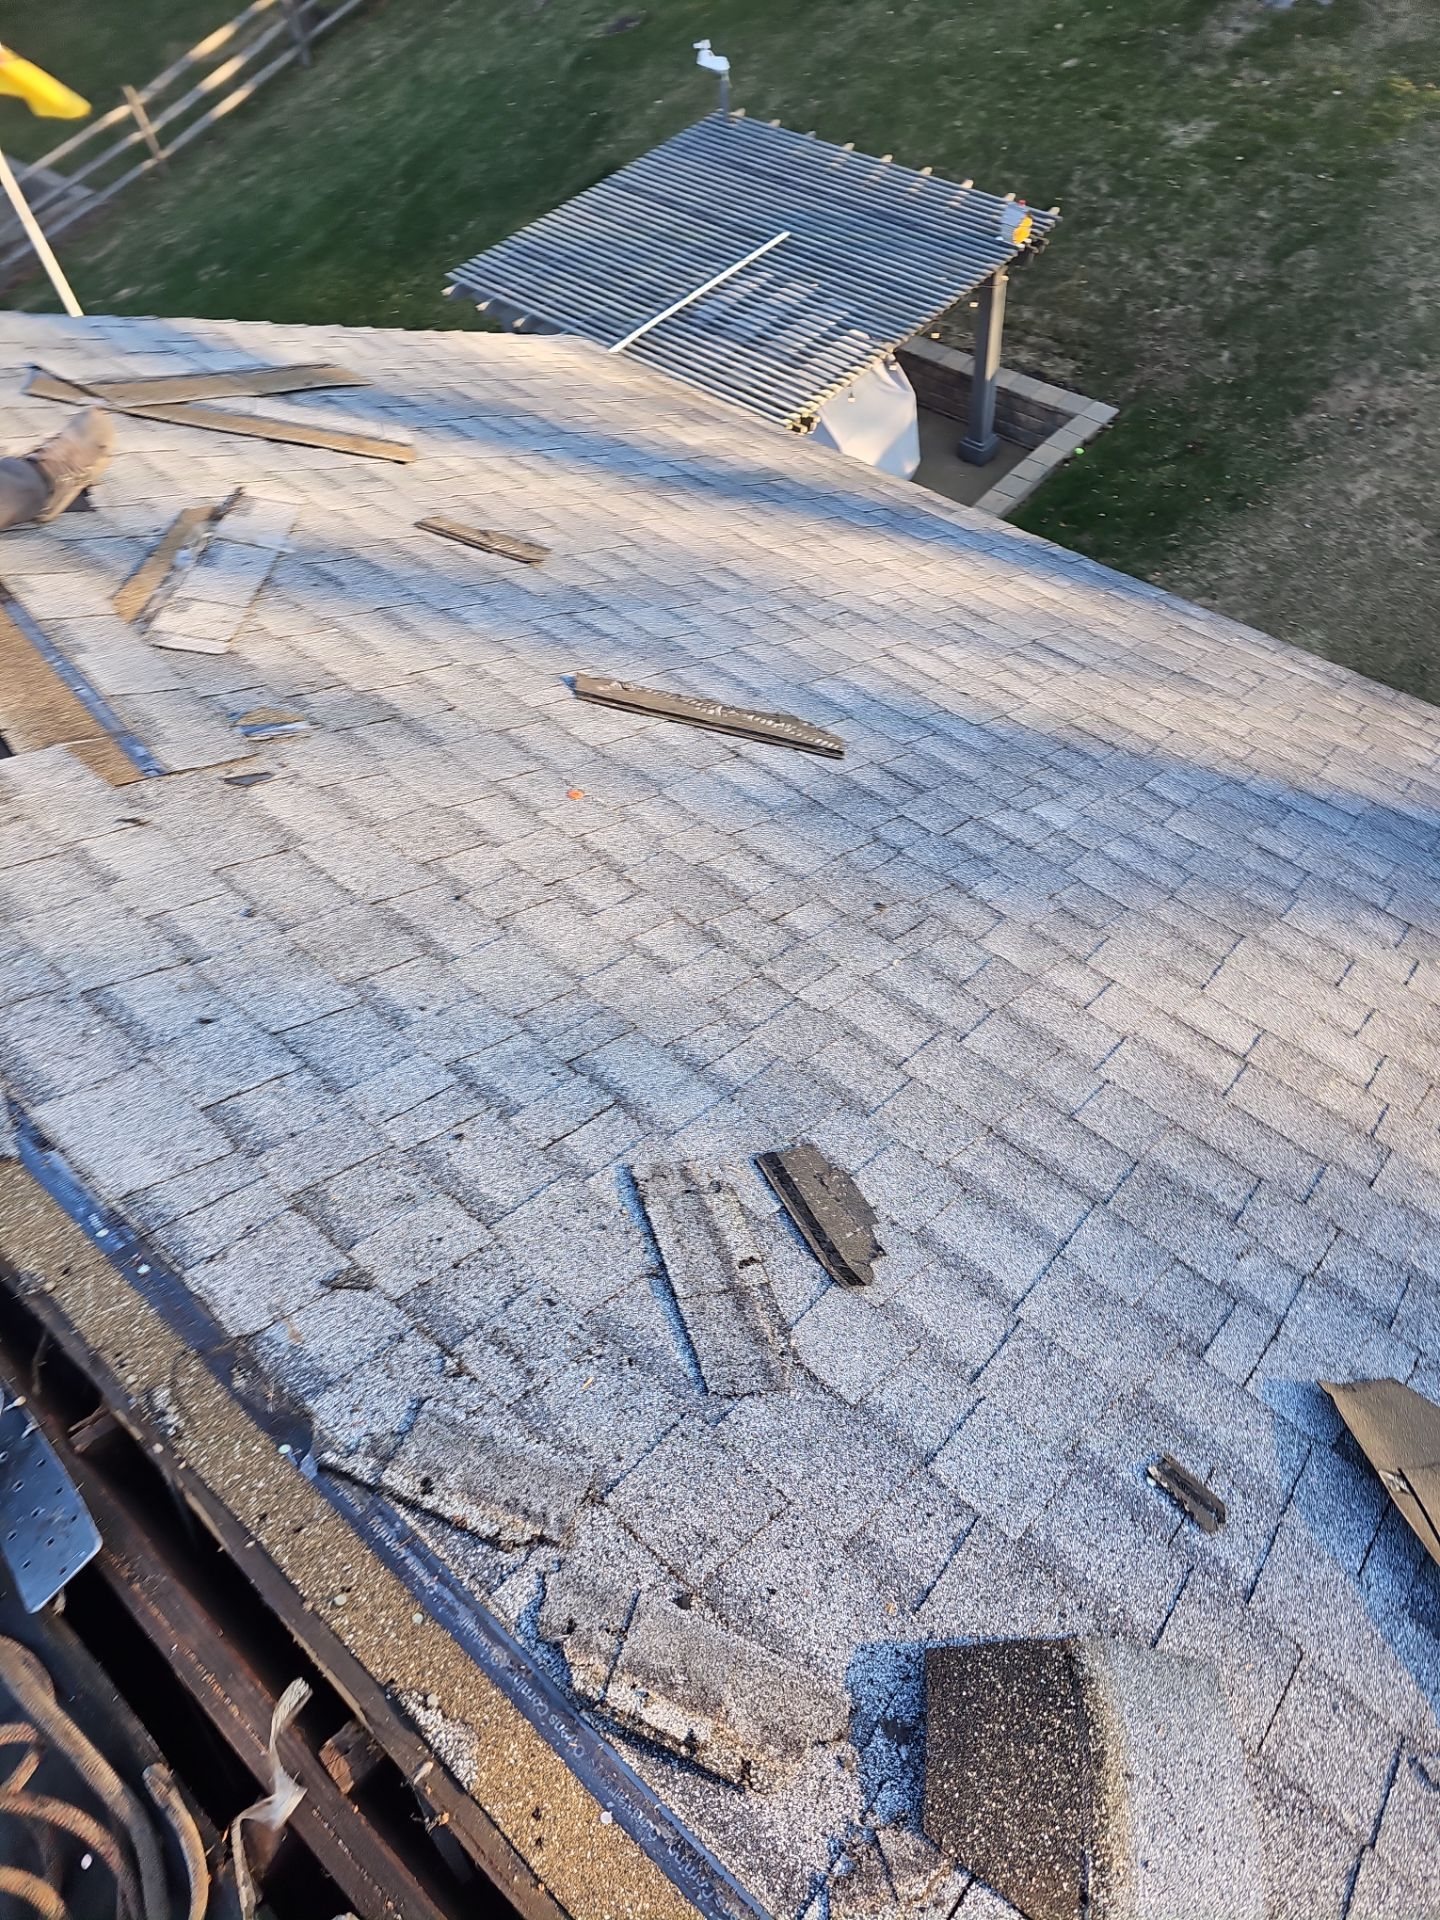
An old, weathered shingle roof in Pittsburgh with debris and broken tabs, before Alan Construction replaced it.
Where should you put ice and water shield?
Think in zones, not in square footage. Every spot where water can pool, change direction or meet an interruption is a candidate.
| Roof zone | Why it needs coverage | Typical requirement |
|---|---|---|
| Eaves | Ice dams form here first | Edge to 24 inches past the interior wall face |
| Valleys | Two slopes dump water into one channel | Full width, full length of the valley |
| Chimneys and skylights | Water piles up on the uphill side | Membrane plus proper step and counter flashing |
| Vents, pipes, fans | Every penetration is a hole in the deck | Wrap the opening, membrane under the boot |
| Roof to wall junctions | Snow drifts and sits against siding | Run membrane up the wall behind the flashing |
| Low slope sections | Water drains slowly or not at all | Full coverage is common below 4:12 pitch |
| Rakes and gable edges | Wind driven rain works sideways | Common on exposed slopes |
The eave measurement trips people up, so be specific with your contractor. The residential code Pennsylvania uses measures the 24 inches from the inside of your exterior wall line, not from the gutter. On a home with a deep overhang, that can mean roughly four feet of coverage, so one 36 inch roll won’t do it. You need a second course, lapped correctly. On steep roofs of 8:12 or more, the same code also calls for at least 36 inches measured along the slope from the eave.
Ice and water shield on older Mount Lebanon homes
Mount Lebanon’s housing stock changes the math. Many homes here were built in the first half of the last century, and those roofs weren’t designed the way modern ones are. Deep eaves, steep pitches, cross gables, dormers stacked on dormers: beautiful from the street, complicated from a ladder.
Cape Cods and Tudors in the township often have finished attic space with knee walls. Heat tends to pool right where the roof meets the wall, so those roofs often need membrane well past the code minimum, sometimes much farther up the slope. Dormer cheek walls deserve it too, since snow packs into those inside corners and stays for weeks.
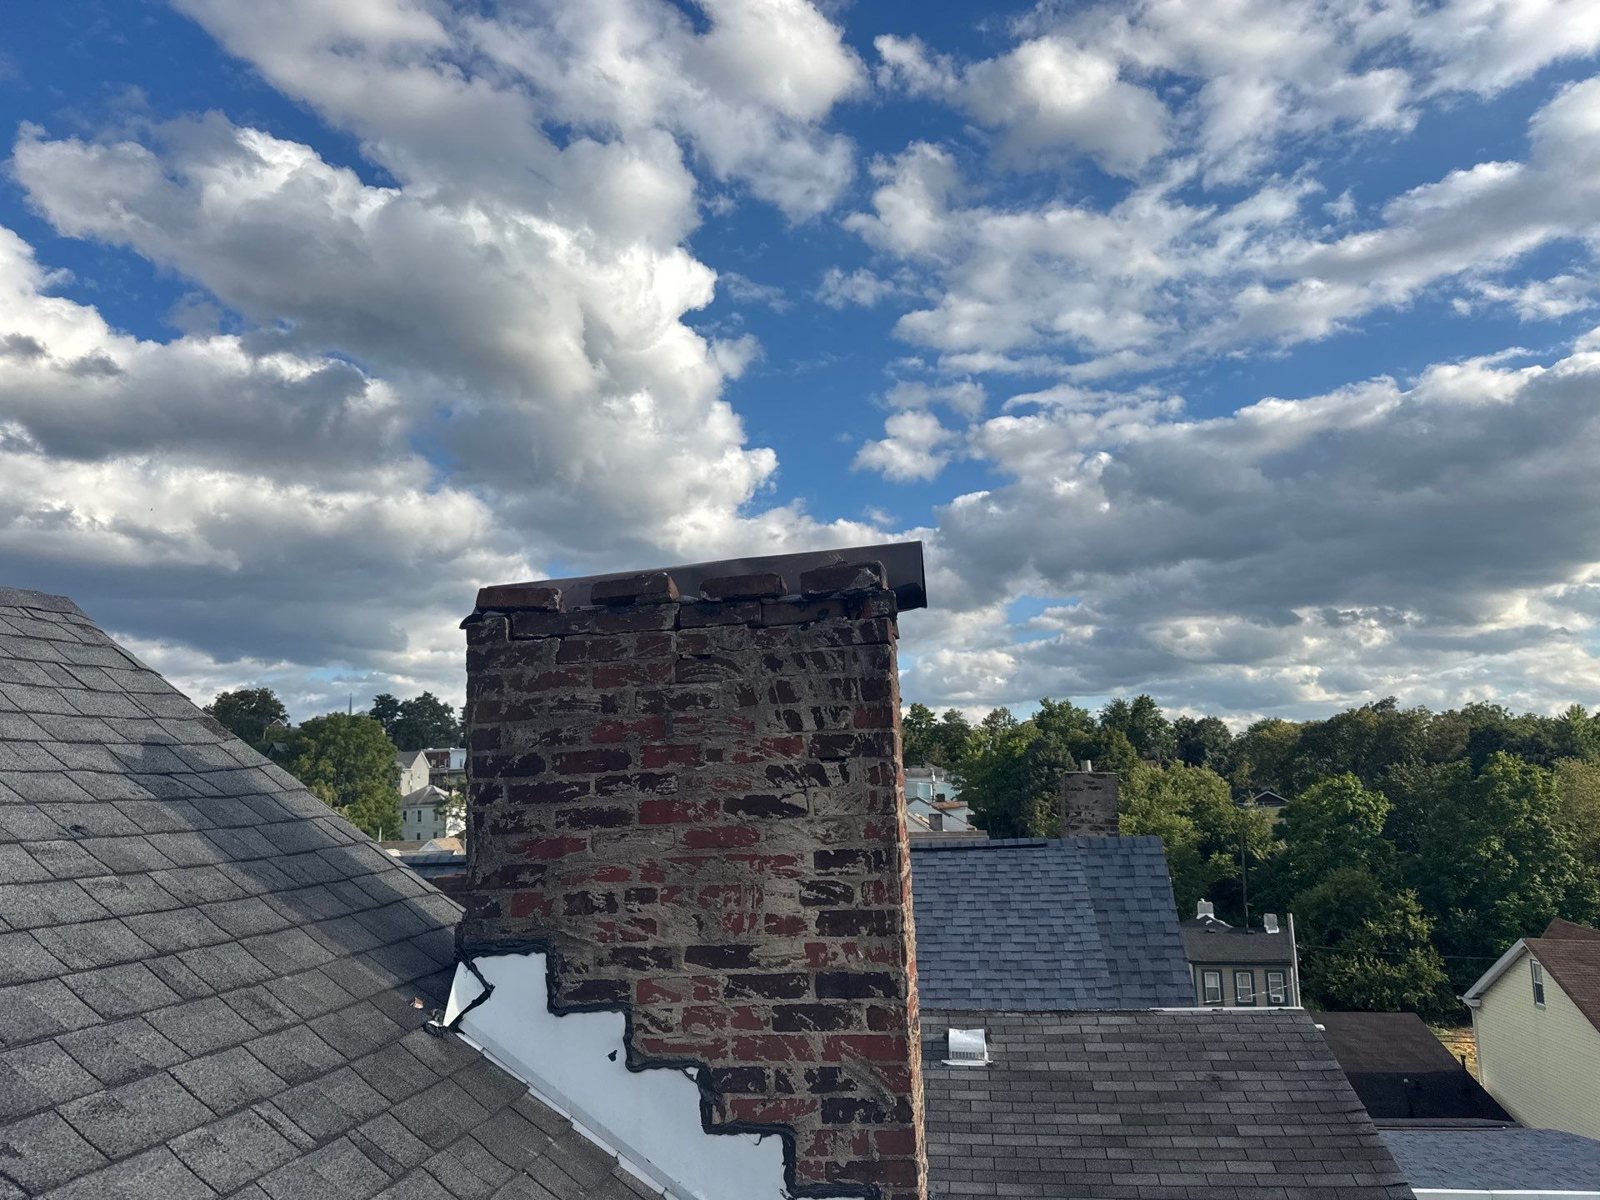
Chimneys are the same story. Membrane goes under the flashing, and properly formed step and counter flashing goes over it.
A red brick chimney in Pittsburgh with new white step flashing, Alan Construction.
Then there are the additions. A sunroom or family room added onto the back of a house creates a low slope roof draining under a steeper one, a classic trouble spot. We’d cover the entire lower roof and carry membrane up the transition wall. Any roofer quoting work in Mount Lebanon should be pointing at these areas before you ask.
Should ice and water shield cover the whole roof?
Usually, no. It’s an appealing idea, since more protection sounds better, but full coverage creates a problem on a vented roof.
The membrane is a vapor barrier. Put it under the entire deck and any moisture that gets into the sheathing from below has nowhere to go. Plywood stays damp, and over the years that shows up as delamination or rot. You’d have paid to trap water in your roof deck.
There are exceptions. Low pitch roofs, roofs with a history of recurring leaks, and homes with unvented spray foam attics can justify wall to wall coverage. Metal roofs and low slope porches often get it too. Outside those cases, targeted coverage plus a quality synthetic underlayment across the rest is the better assembly. Our post on why roofing underlayment matters compares the main types.
Should ice and water shield be nailed down?
The membrane bonds to the deck with adhesive, not fasteners. You peel the release film and roll it down, working from the low edge upward so each course laps over the one below.
That said, fasteners do enter the picture. Drip edge, starter course and shingles all get nailed through it, and that’s fine, because the membrane seals around each nail shank. That self sealing property is the entire point.
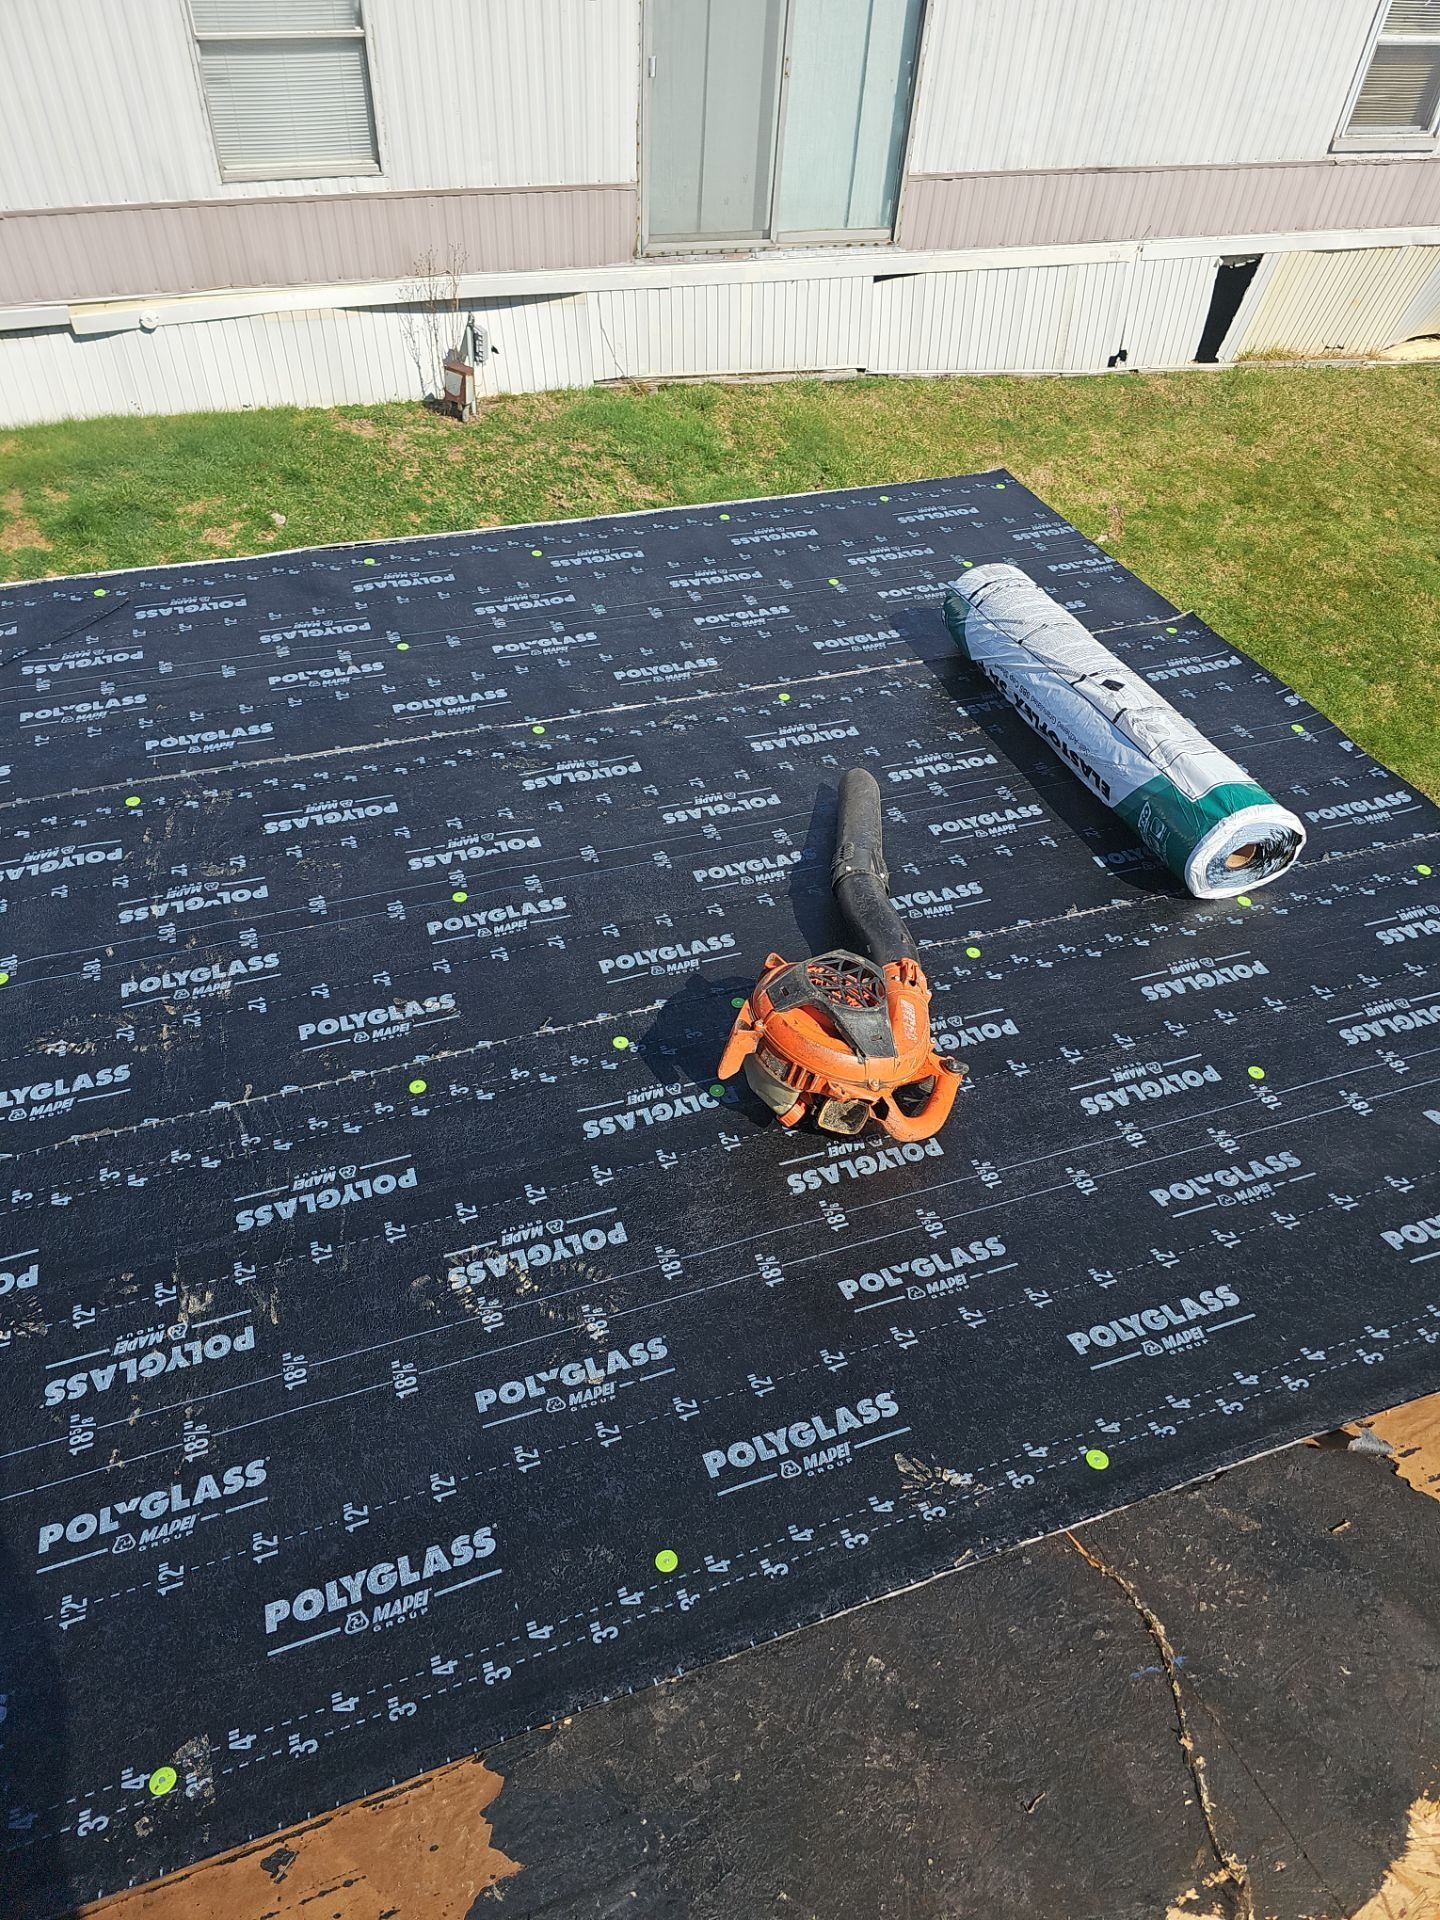
What matters more is surface prep. Cold, damp, dusty or frosted decking kills adhesion. If the membrane isn’t fully bonded, it can tent under the shingles and channel water instead of stopping it. A careful crew cleans and dries the deck and rolls the membrane down firmly, like this low slope job in Oakdale.
Black self adhered underlayment on a low slope roof in Oakdale, with a roller tool, Alan Construction.
What are the common problems with ice and water shield?
The material rarely fails. Installation does. Here’s what we see most.
- Wrong measurement at the eave. One 36 inch course on a deep overhang home leaves the interior wall unprotected, exactly where leaks show up on your ceiling.
- Overlaps running the wrong way. Laps have to shingle downhill. Reversed seams funnel water into the deck.
- Trapped moisture. Full deck coverage on a poorly ventilated attic can cause deck rot and condensation that homeowners mistake for a roof leak.
- Wrinkles and fishmouths. Air pockets telegraph through the shingles and eventually crack. Roll it flat, roll it slow.
- Membrane instead of flashing. No amount of sticky underlayment replaces properly formed step flashing at a chimney or sidewall. It’s a backup layer, not a substitute for metal. Our guide to what causes flashing leaks around chimneys goes deeper.
Attic ventilation changes everything
Membrane manages the symptom. Ventilation and air sealing treat the cause. If your attic is leaking heat, ice will keep forming no matter what’s under your shingles.
Look at your soffit vents. On older homes they are often painted shut, buried under blown in insulation, or missing the baffles that keep the airway open. Open up the intake, pair it with ridge ventilation, and roof temperatures even out. Our post on why proper attic ventilation matters before cold weather arrives explains what to check.
What to ask before you sign a roofing contract
Ask three questions and you’ll learn a lot fast.
- How many courses of membrane at the eaves, and how did you calculate that? A real answer references your overhang.
- Which valleys, penetrations and wall junctions are included? Vague answers mean vague work.
- Will you photograph the underlayment before shingles go down? Those photos are worth keeping.
Also confirm the membrane works with your shingle manufacturer’s installation requirements, and get the specific product name in writing. We install Atlas shingles, including Pinnacle Pristine, and we’ll tell you exactly what goes underneath them.
Ice and water shield is low cost protection placed exactly where your roof is weakest: eaves, valleys, penetrations, wall junctions and low slopes. Not everywhere, just everywhere that matters.
Get the measurements right, get the laps right, and pair it with an attic that breathes. Do that, and February stops being something you worry about.
Not sure your roof has ice and water shield where it counts? Ask for a free, no obligation estimate and we’ll show you what we find.